Shiny Kid-Painted 3-D Stars for Toddlers and Preschoolers
I wanted to make a fun kids craft for the patriotic holidays coming up here in the U.S. These shiny painted stars fit the bill for Memorial Day, Flag Day, and Fourth of July.

The method we used here is similar to the one we used to make our shiny rocket craft. We glue together foil and paper, which stabilizes the foil. It also means you can print a shape outline on the paper for cutting out.
As soon as my girls saw what I was up to, they were excited to join in the fun!
Looking for a Learning Activity too?
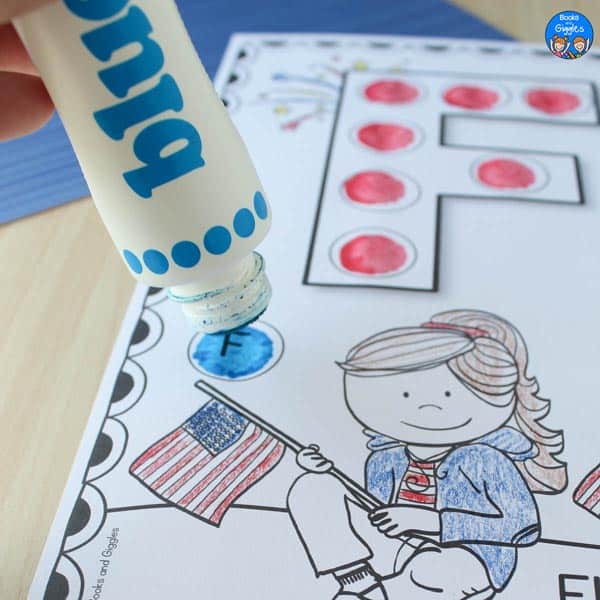
You may also like these Fourth of July worksheets all about the letter F. These are another fun way to fill your Fourth of July unit or pull out on a rainy day.
Okay, on to the stars…
 |
| It’s a miracle she didn’t get paint in her hair! |
I intended this craft to be for toddlers and preschoolers, but my 6-year-old twins really got into this too. Isabella enjoyed the excuse to finger paint again. She and I thought the paint on foil had a pleasing, smooth feel to it. Sophie preferred a paintbrush.
 |
| If you read the instructions, you’ll see that we did this one a little differently… she got a little ahead of me. |
Shiny 3-D Star Materials
I mostly used spray glue for these. But I experimented and found that you can also use regular school glue if you spread it thin. You just get a few more wrinkles on the paper side.
- Printout of star shapes
- Spray glue (like this – affiliate)
- Aluminum foil
- Washable paint
- Paintbrushes (if you’re not finger painting)
- Scissors
Foil Star Preparation
Before you get the kids started, you’ll need to prepare the foil/paper sandwiches. It’s a quick process:
- Protect your work area, and lay out a sheet of foil within reach, but out of range of the gluing area.
- Spray glue on to the back of the paper printout.
- Immediately lay the paper down on the foil, smoothing it out to adhere evenly.
- Take a ballpoint pen or the back of a paintbrush and draw over the outside of the star shapes (not the inside lines) – this will indent the foil out a bit so you can see the shapes on the other side.
Now you’re ready for painting! Let the kids be creative. If you want red, white, & blue rather than purple or pink, be sure to give out one color at a time.
Cutting Out the Stars
Allow the paint to dry completely. Then cut out each star, cutting through the foil paper sandwich.

Folding into 3-D Stars
To get the 3-D effect, you fold the solid lines one way and the dashed lines the other way. The largest star is the easiest to fold, and I’ve labelled it for you. I didn’t label the smaller stars (there was less room), but it’s really easy once you get the hang of it.
To make a “valley fold” on the solid lines, fold the paper towards the paper, with the crease at the bottom like a valley. To make a “mountain fold” on the dashed lines, fold the foil towards the foil, with the crease at the top like a mountain.

My kids love watching me turn their 2-D stars into 3-D ones. I think we may string these up on a banner when we decorate for the Fourth of July. We may add a few other kids crafts while we’re at it.
